Month: December 2016

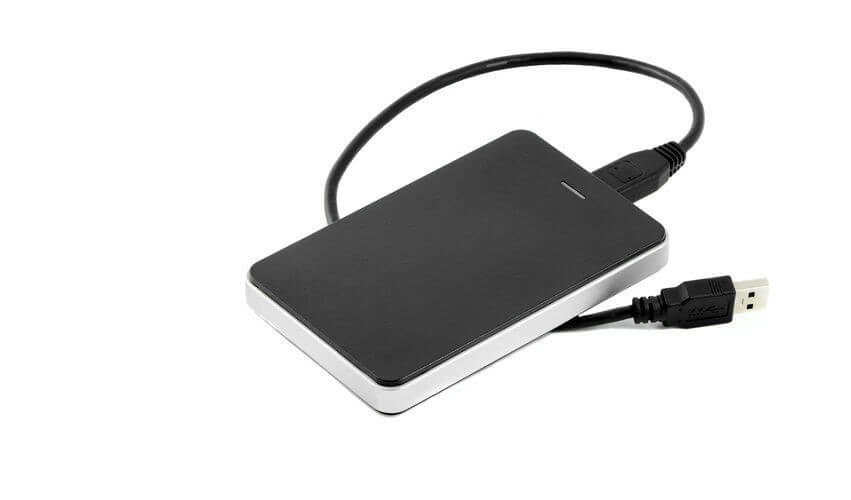
How to recover data from external hard drive

RECOVERING DATA FROM AN EXTERNAL HARD DRIVE

External Hard Drives have become quite common due to their easy portability and convenience, as you can store your critical data on them and access them on the go. However, as a data recovery experts we have noted that the largest portion of cases brought in to our office are external hard drives. There’s a Way for you to try and recover your data if your external hard drive fails.

  • Download free data recovery softwares, which are available in the internet.
  • Install it onto your computer.
  • Connect the hard drive to your computer.
  • Launch the software as an administrator. You can do this by right clicking on the software and clicking the Run as Administrator
  • Select the file types you want to recover. Then click “Next” button to move to the next step.
  • Select the external hard drive and click “Scan” button, the software will quickly scan the selected disk to find all your target files.
  • After scan, you can preview all the listed recoverable files one by one and select out those you want. Then, click “Recover” button to get them back once. Here you should save all the recovered files on another disk to avoid data overwriting.

If this Doesn’t work, It means your hard drive might have a more complex issue and you therefore need to consult the data recovery experts for an expert analysis.

How to recover data from itunes backup

RECOVERING DATA FROM CLOUD BACKUP ON IOS

For IOS users, there are two options of backing up your data on the cloud, you can either use ICloud or ITunes. Learn how to restore data from either of the two below:

  1. Restore your device from an iCloud backup
  • Turn on your device. You should see a Hello screen. If you already set up your device, you need to erase all of its content before you can use these steps to restore from your backup.
  • Follow the onscreen setup steps until you reach the Apps & Data screen, then tap Restore from iCloud Backup.
  • Sign in to iCloud with your Apple ID.
  • Choose a backup. Look at the date and size of each and pick the most relevant. After you choose, the transfer starts. If a message says that a newer version of iOS is required, follow the onscreen steps to update (If you don’t see onscreen steps to help you update, learn what to do).
  • When asked, sign in to your Apple ID account to restore your apps and purchases (If you’ve purchased iTunes or App Store content using multiple Apple IDs, you’ll be asked to sign in to each). If you can’t remember your password, you can tap Skip this Step and sign in later.
  • Stay connected and wait for a progress bar to appear and complete. Depending on the size of the backup and the network speed, the progress bar might need a few minutes to an hour to complete. If you disconnect from Wi-Fi too soon, the progress will pause until you reconnect.
  • Now you can finish setup and enjoy your device. Content like your apps, photos, music, and other information will continue to restore in the background for the next several hours or days, depending on the amount of information there is. Try to connect often to Wi-Fi and power to let the process complete.
  1. Restore your device from an iTunes backup
  • Open iTunes on the Mac or PC that you used to back up your device.
  • Connect your device to your computer with a USB cable. If a message asks for your device passcode or to Trust This Computer, follow the onscreen steps. If you forgot your passcode, get help.
  • Select your iPhone, iPad, or iPod touch when it appears in iTunes. If your device doesn’t appear in iTunes, learn what to do.
  • Select Restore Backup in iTunes. If a message says that your iOS device’s software is too old, learn what to do.
  • Look at the date and size of each backup and pick the most relevant.
  • Click Restore and wait for the restore time to finish. If asked, enter the password for your encrypted backup
  • Keep your device connected after it restarts and wait for it to sync with your computer. You can disconnect after the sync finishes.

Incase this process doesn’t work, you can always contact East Africa Recovery Experts for a free consultancy.


How to recover iphone password

RECOVERING A FORGOTTEN IPHONE PASSWORD

If you input a wrong passcode in your iPhone, iPod touch or your iPad six times in a row, you’ll be locked out of your device and a message notifying you that your device is disabled. For you to restore your device, you will need to erase your device using several methods. Unless you had made a backup, there’s no way for you save your data. When you erase your device, it clears all your data and all its settings. Choose the best way to erase your data among the options outlined below:

  1. Erase your device with iTunes

If you’ve synced your device with iTunes, you can restore your device by following these steps.

  • Connect your device to the computer you synced with.
  • Open iTunes. If asked for a passcode, try another computer you’ve synced with, or use recovery mode.
  • Wait for iTunes to sync your device and make a backup. If it doesn’t, learn what to do.
  • Once the sync and backup have finished, click Restore [your device].
  • When you reach the Set Up screen while restoring your iOS device, tap Restore from iTunes backup.
  • Select your device in iTunes. Look at the date and size of each backup and pick the most relevant one.
  1. Erase your device with iCloud

If you set up Find My iPhone on your iOS device or Mac, you can use iCloud to erase and restore it

  • From another device, go to icloud.com/find.
  • If prompted, sign in with your Apple ID.
  • Click All Devices at the top of your browser window.
  • Select the device you want to erase.
  • Click Erase [device] to erase your device and its passcode.
  • Now you can either restore from a backup or set up as new.

Your device needs to be connected to a Wi-Fi or cellular network for you to erase it with Find My iPhone.

  1. Erase your device with recovery mode

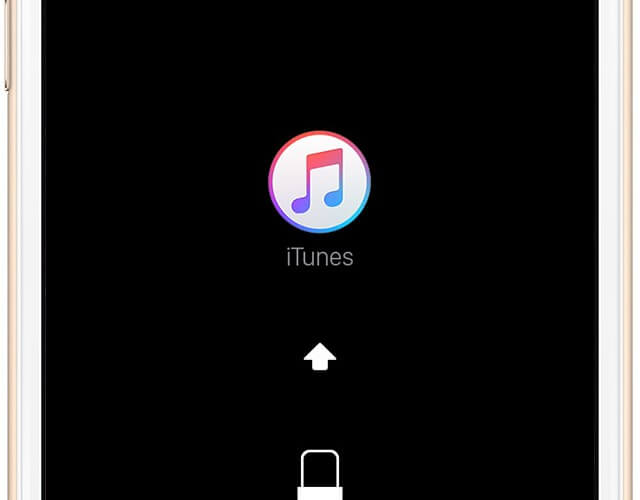
If you’ve never synced with iTunes or set up Find My iPhone in iCloud, you’ll need to use recovery mode to restore your device. This will erase the device and its passcode.

  • Connect your iOS device to your computer and open iTunes. If you don’t have a computer, borrow one from a friend, or go to an Apple Retail Store or Apple Authorized Service Provider.
  • While your device is connected, force restart it:
  • On an iPhone 6s and earlier, iPad, or iPod touch: Press and hold the Sleep/Wake and Home buttons at the same time. Don’t release when you see the Apple logo. Keep holding both buttons until you see the recovery mode screen.
  • On an iPhone 7 or iPhone 7 Plus: Press and hold the Sleep/Wake and Volume Down buttons at the same time. Don’t release when you see the Apple logo. Keep holding both buttons until you see the recovery mode screen
  • When you see the option to Restore or Update, choose Restore. iTunes will download software for your device. If it takes more than 15 minutes, your device will exit recovery mode and you’ll need to repeat steps 2 and 3.
  • Wait for the process to finish. Then you can set up and use your device.

Call the data recovery experts if you still can’t get the data.


How to recover files hidden by a virus on a Memory Card or Flash Drive

RECOVERING DOCUMENTS HIDDEN BY A VIRUS IN A STORAGE MEDIA

Computer viruses are quite common these days, but they vary depending on the actual harm they do to your computer. There’s a specific virus that tends to hide data and displays it as shortcuts. This virus is mainly known to attack external storage drives i.e. memory cards, flash drives or external HDDs. Most antiviruses are unable to quarantine this virus making any user who’s been attacked by it to despair. There’s a way you can recover your files once they’ve been infected by this virus and it entails use of the command prompt.

  1. Plug in the infected media to the PC.
  2. Go to the Start menu and type in CMD in the search bar and click Enter. You should see a exe file or Command Prompt among a list of programs.
  3. Click on that file and a black window will pop up where you can recover your files and folders by keying in a few commands in it.
  4. Type in the following command attrib-h-r-s/s/d drive letter:\*.* e.g. attrib-h-r-s/s/d F:\*.*(assuming the letter assigned to your drive is F) and hit Enter.

This Command will allow windows to start repairing the infected files and folders on your drive. This process might take a while, wait patiently for it to complete and once it’s done, you’ll be able to view your files back on the media.

Contact the data recovery experts if you still can’t get your data.

Scroll to top