Basic hard drive check for data recovery professionals
The next steps can save beginner users from making mistakes when working on user drives.
1. Hold that drive with your hand and carefully shake it from side to side, and then listen if there are any moving parts bouncing inside. Powering the drive in this situation is dangerous, since it may lead to platter scratch. In the case where you can hear sound of bouncing parts inside the drive it is better to estimate your skills and ask permission from drive owner for opening the drive’s LID and checking hard drive internal parts.
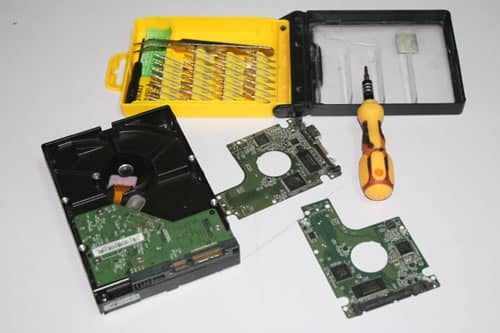
2. When no suspicious sounds were discovered while shaking the drive, it worth to check its logic board. Its always a good idea to take off the board and see what happened to its pads on the other side, since they damage very often. Clean the contacts with rubber eraser or a spirit and put the board back. Also check the elements on that board. Maybe you can discover a broken fuze unit or any removed or resoldered elements on that board. That is very important for new drives, which have adaptive data in the ROM.
3. Carefully check the top label and see if it is torn off above the screws on the top lid. That could be somebody else having worked on this drive before you.
The above three steps will determine the chances of success on any physically damaged hard drive. In case all goes wrong, you can contact data recovery experts.


